Collector Guides
How to Photograph Diecast Cars
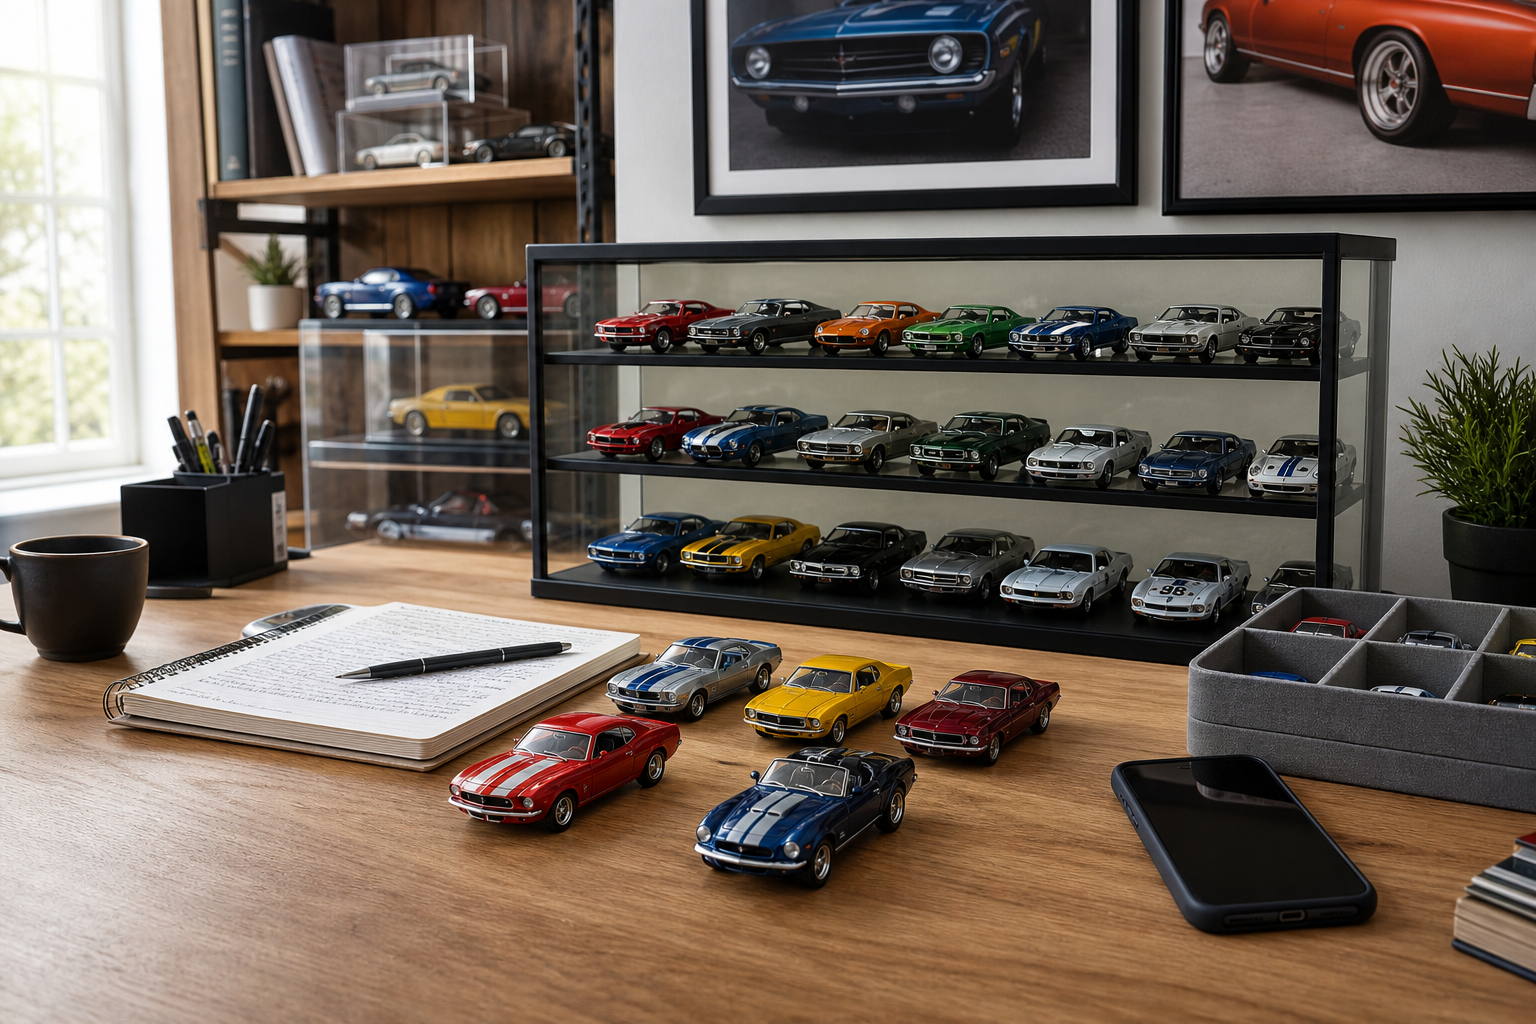
Bad photos make good cars hard to identify and hard to trust.
# How to Photograph Diecast Cars
## A Guide for Collectors
As a diecast car collector, you know how important it is to showcase your miniature masterpieces in the best possible light. But have you ever struggled with capturing their intricate details and vibrant colors through photography? You’re not alone! With the right techniques and equipment, you can take stunning photos of your diecast cars that will make them look like they just rolled off the assembly line.
### Choosing the Right Equipment
Before we dive into the nitty-gritty of photography, let’s cover the basics. You’ll need a few essential pieces of equipment to get started:
* A camera with good image quality and manual controls (DSLR or mirrorless recommended)
* A tripod for stability and reduced blur
* A macro lens or extension tubes for extreme close-ups
* A reflector or diffuser for soft, even lighting
### Setting Up Your Scene
Now that you have your equipment, it’s time to set up your scene. Here are some tips to help you get the best possible results:
* Use a plain background that complements the colors of your diecast car (e.g., a white or gray surface)
* Position your car in the center of the frame, with the main features and details at eye level
* Experiment with different angles and perspectives to add visual interest
#### Lighting Your Diecast Car
Lighting is crucial when it comes to photographing small objects like diecast cars. Here are some tips for getting the right lighting:
* Natural light: Place your car near a window with soft, indirect light (avoid direct sunlight)
* Artificial light: Use a dedicated photography light or a well-lit room with minimal shadows
* Experiment with different light sources and angles to achieve the desired effect
### Tips for Capturing Great Photos
Now that you have your equipment and scene set up, it’s time to capture some great photos. Here are some tips to help you get the best possible results:
* Use a high ISO setting (100-400) for good image quality and low noise
* Experiment with different shutter speeds and aperture settings to achieve the desired effect
* Pay attention to composition, focusing on leading lines, symmetry, and negative space
#### Editing Your Photos
Once you’ve taken your photos, it’s time to edit them. Here are some tips for achieving professional-looking results:
* Use image editing software like Adobe Lightroom or Photoshop to adjust exposure, contrast, and color balance
* Crop and straighten your images to improve composition and remove distractions
* Save your edited photos as high-quality JPEGs for sharing and printing
### Conclusion
Photographing diecast cars requires a combination of technical knowledge and creative vision. With the right equipment, techniques, and attention to detail, you can take stunning photos that showcase your miniature masterpieces in the best possible light. Happy snapping!