Collector Guides
How to Photograph Diecast for Proof
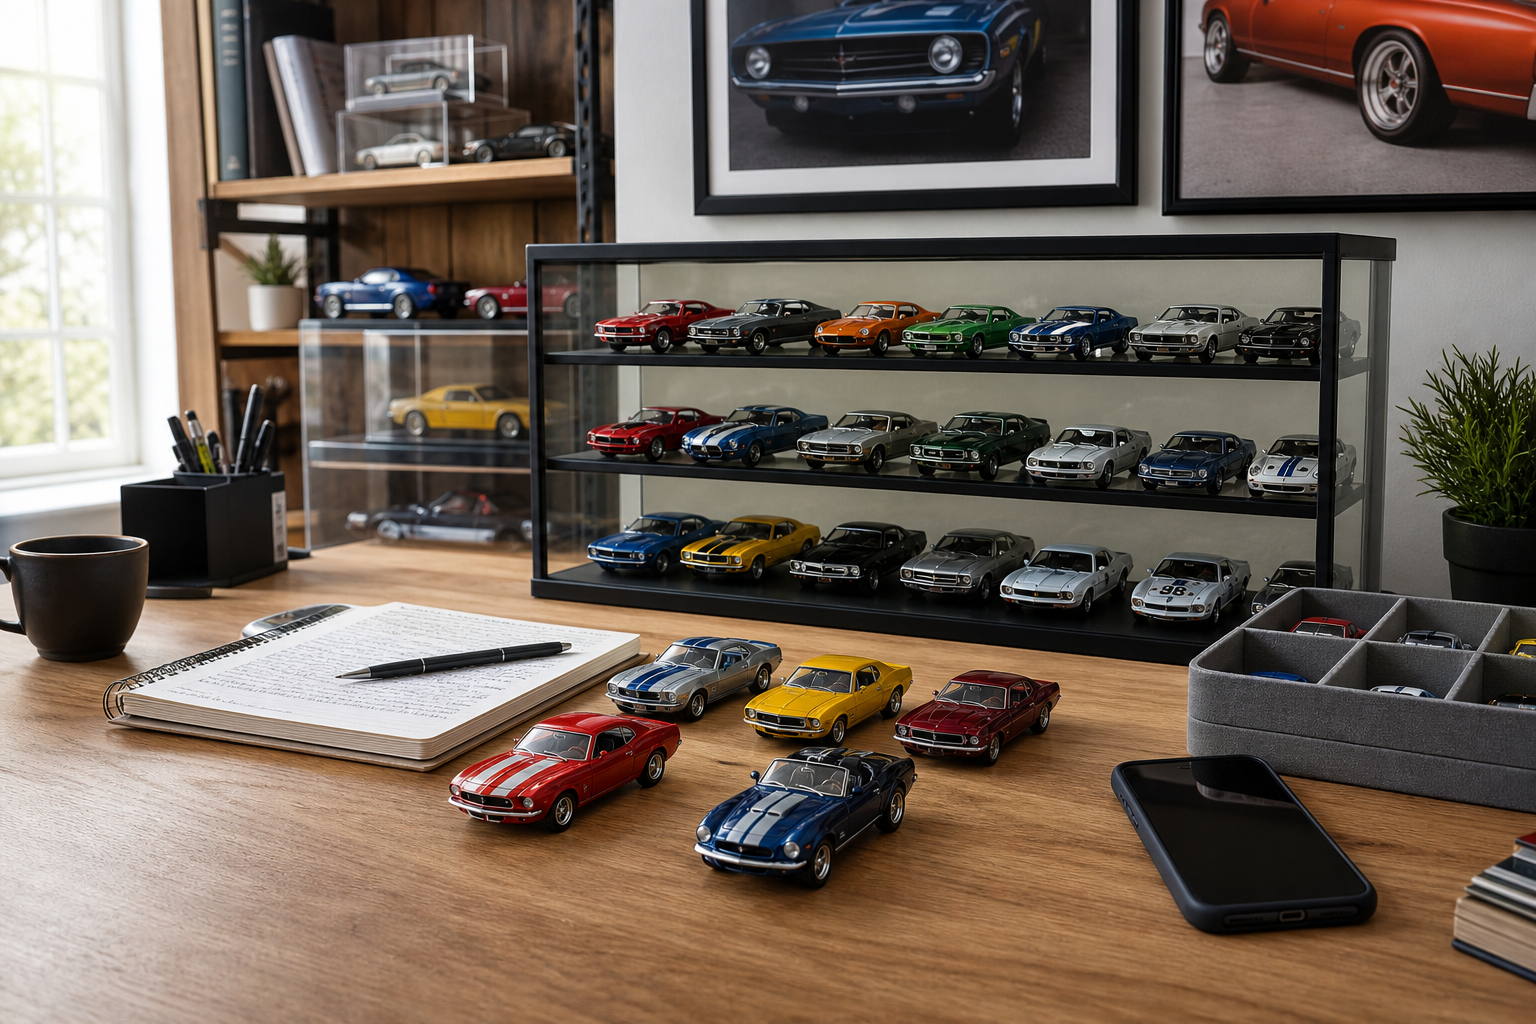
A weak photo can hide the details that separate one variation from another, which makes proof and value work much harder than it needs…
**How to Photograph Diecast for Proof**
=====================================
As a diecast collector, verifying the authenticity and condition of your diecasts is crucial. One way to prove ownership and document your collection is by taking high-quality photographs. In this guide, we’ll walk you through how to photograph your diecast models for proof.
### Preparing Your Diecast
Before taking photos, make sure your diecast is clean and dust-free. Gently wipe it down with a soft cloth to remove any debris. This will ensure that your photos show the model in its best light.
#### Lighting
Proper lighting is essential when photographing your diecast. You’ll need a well-lit area with minimal shadows. Consider using a macro photography setup or a dedicated lighting kit specifically designed for miniature models. If you don’t have access to these, natural light can work as long as it’s not too harsh.
### Camera Settings
To capture sharp and detailed images, use the following camera settings:
* **Aperture:** Set your aperture to f/8 or higher to ensure a deep depth of field.
* **Shutter Speed:** Use a shutter speed of 1/100th of a second or faster to freeze any movement.
* **ISO:** Keep your ISO as low as possible (preferably 100) to minimize noise.
#### Composition
When composing your shot, consider the following:
* **Background:** Use a plain background that won’t distract from the diecast. A white or light-colored surface works well.
* **Angle:** Experiment with different angles to find the most visually appealing one. Shooting from directly above can help showcase details.
* **Focus:** Ensure your camera is focused on the diecast model, not the background.
### Photography Tips
Here are some additional tips to keep in mind:
* **Use a tripod** to maintain stability and avoid camera shake.
* **Shoot in RAW** for greater flexibility during post-processing.
* **Bracket your shots** to capture a range of exposures and merge them later using HDR software.
### Post-Processing
Once you’ve taken your photos, edit them to enhance the image quality. Use photo editing software to:
* **Adjust brightness and contrast**
* **Correct color balance**
* **Remove noise and artifacts**
### Conclusion
By following these steps, you’ll be able to capture high-quality photographs of your diecast models that serve as proof of ownership and condition. This will not only help protect your investment but also provide a valuable record of your collection over time.
[TDG Disclaimer: The information provided in this guide is for general informational purposes only and should not be considered as professional advice. It’s always recommended to consult with a qualified expert or authority on the subject.]